1. Click on "DOWNLOAD" to download SiteMap X at http://www.sitemapx.com/download.html#SitemapXSoftware (All images below can be enlarged by clicking on them).

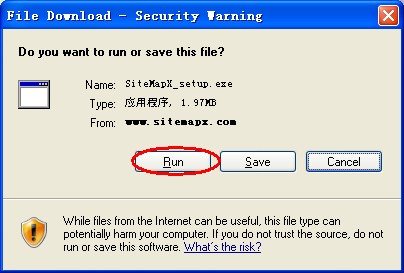
2. In the popped-up dialog windows click on "Run", wait for the completion of download and then open the exe file.
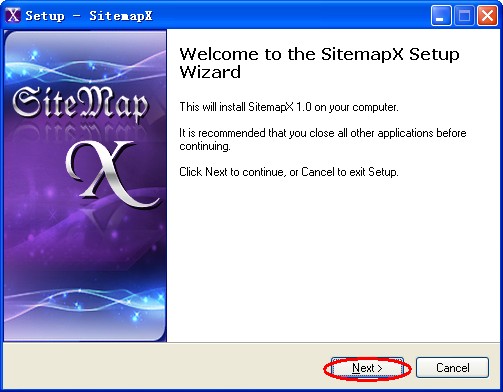
3. In Setup Wizard, select the setup language and click on "OK", and in the Setup window click on "Next" to start the installation.
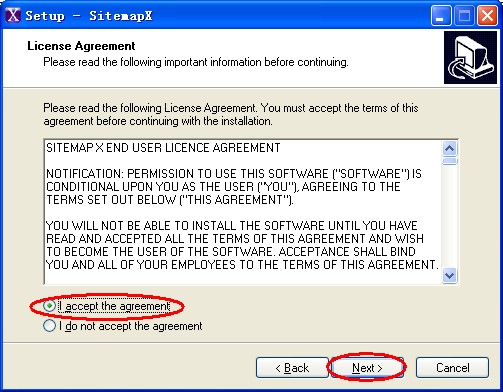
4. Accept the license agreement and click on "Next";
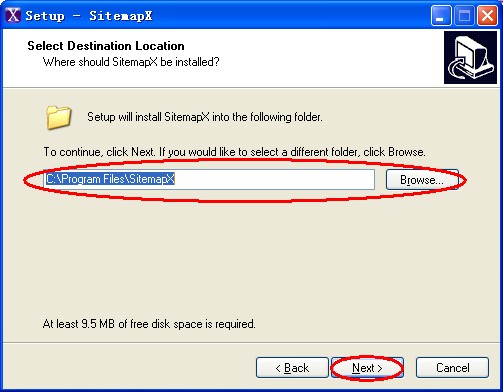
Select the destination location of the installation and start menu folder of SiteMap X's shortcuts
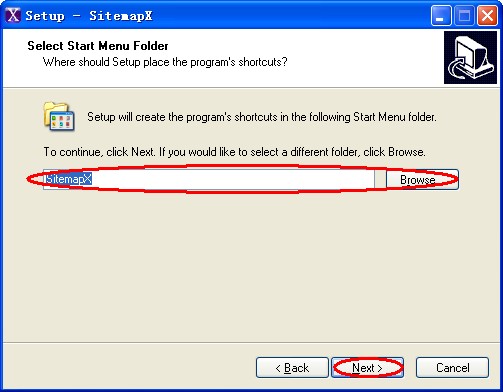
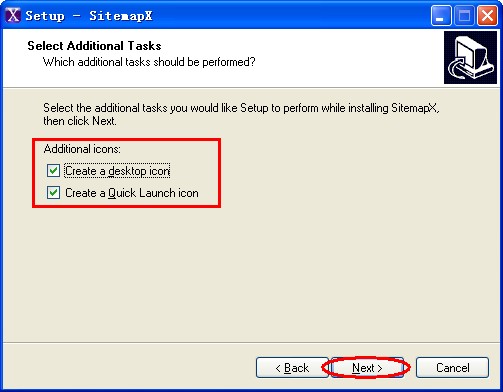
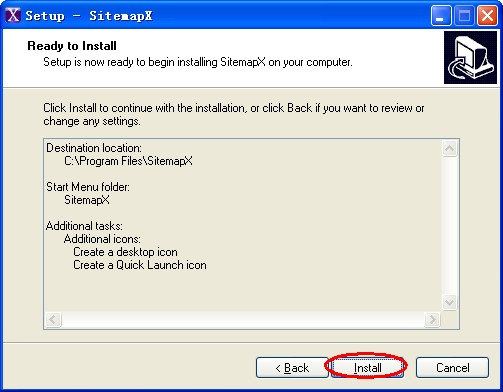
Then select additional tasks (whether create a desktop icon and a quick launch icon or not); last click on "Install"
5. Complete the installation and launch SiteMap X.

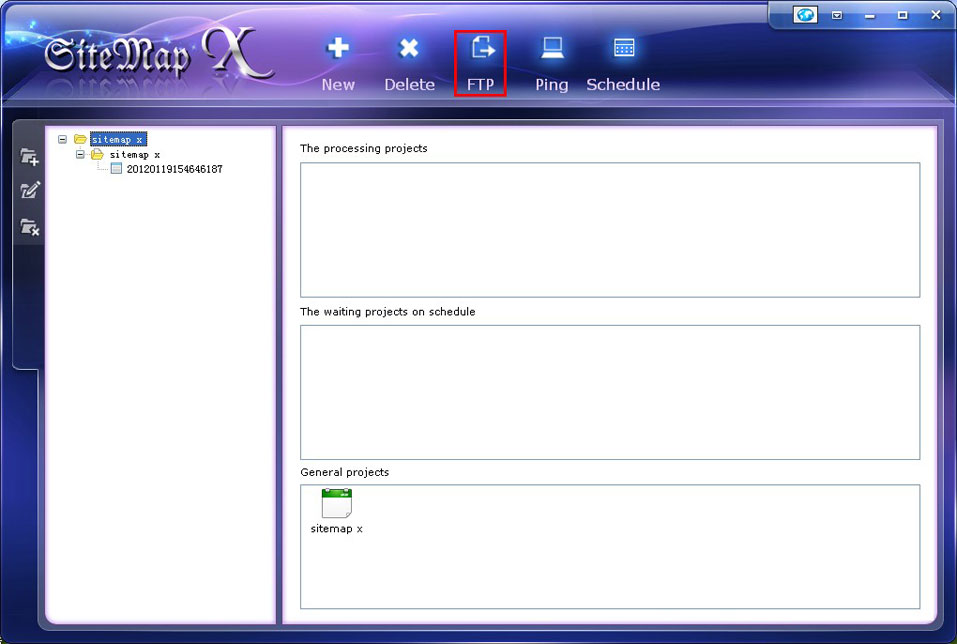
After you launched SiteMap X, you can see its main interface as below. From the main interface you can view project list, processing projects, scheduled projects, and other projects in different areas. Also you can add new projects, delete or edit existed projects, access the built-in FTP Manager X, ping search engines about the generated sitemap, set a schedule of sitemap building and search engine pinging.

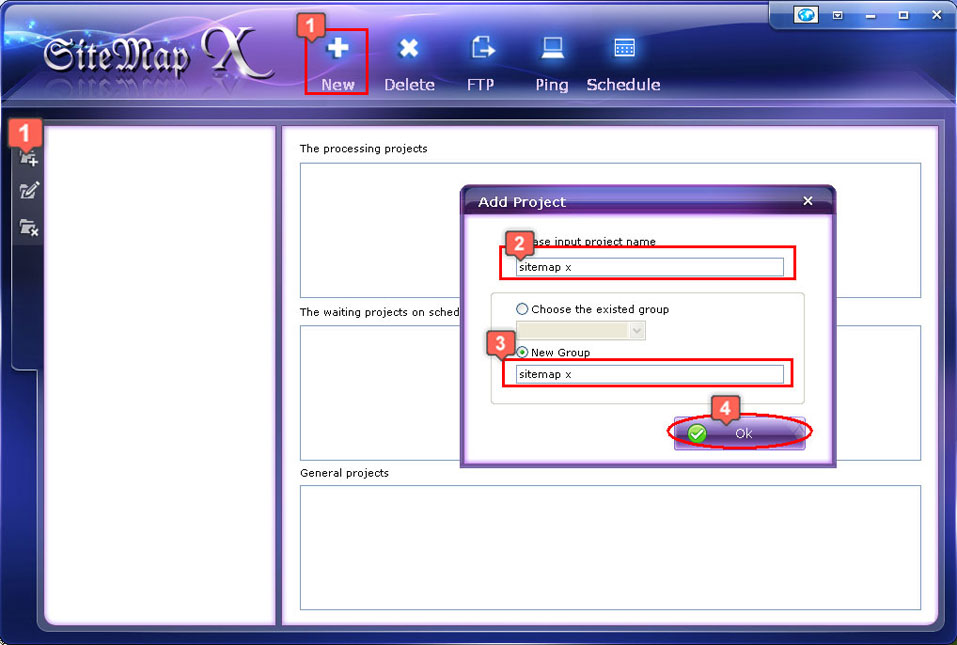
A. Add a new project to generate sitemap
1. Click on "New" or the add button on the top-left of the project list, and in the popped-up window, input project name and group name, then click on "OK".
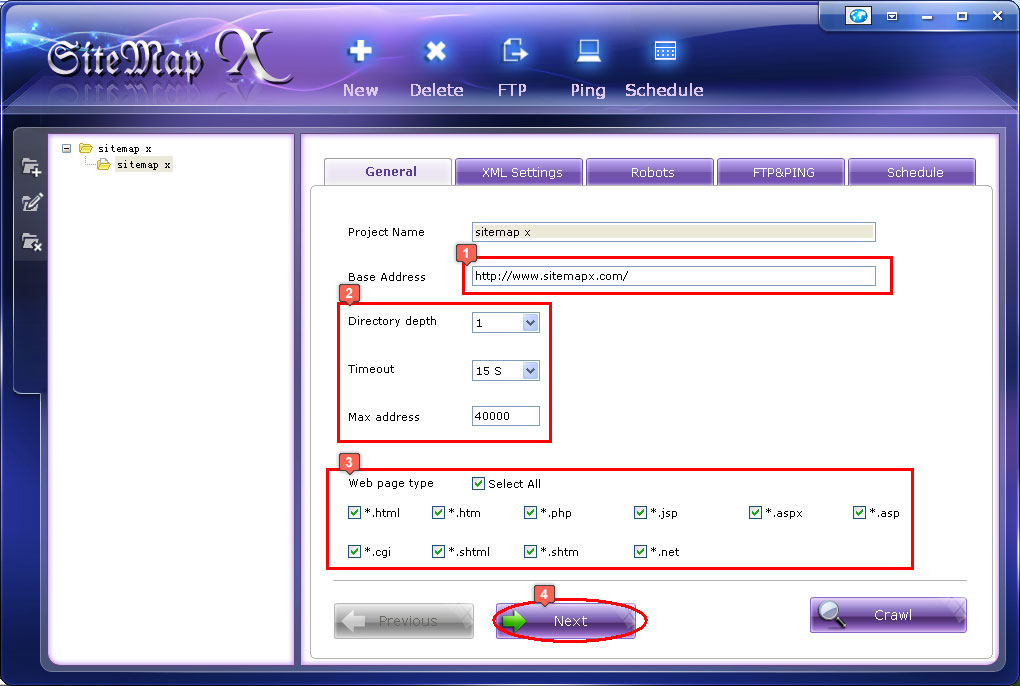
2. Under "General" tab, input the base address (any URL of your website will do) for crawling, set the crawling depth (how deeply you want the crawler to discover the directories), the maximized time to crawling one page, and the max number of the crawled URLs, then select types of the web page you want SiteMap X to crawl, and click on "Next" (you can also click on "Crawl" to skip the next several steps and start the crawling right now with the default settings).
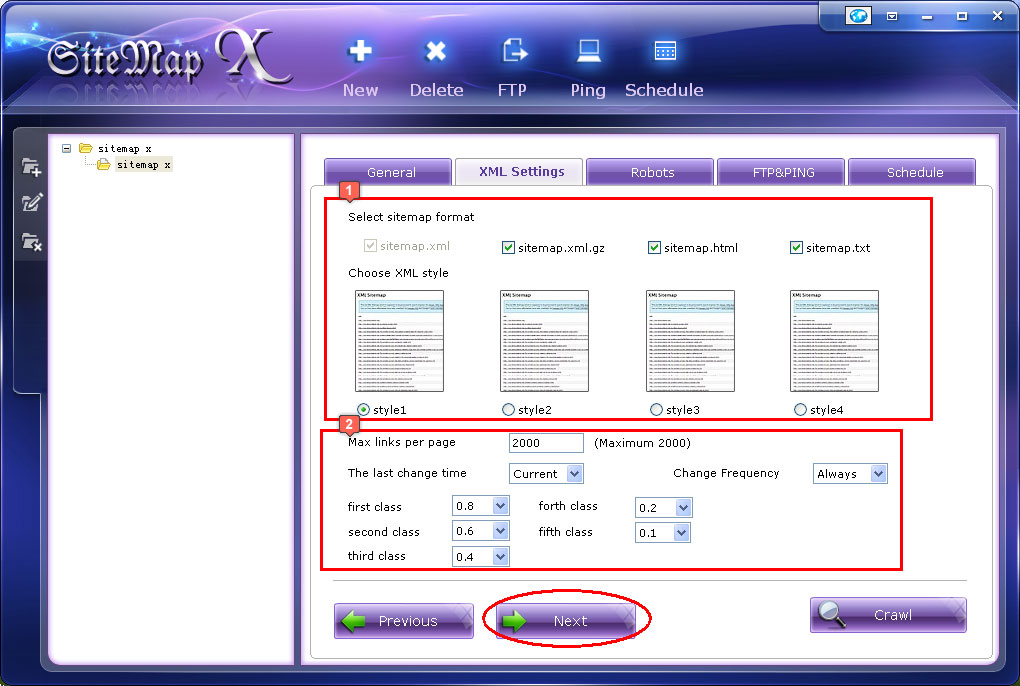
3. Under "XML Settings" tab, select the format and style of your sitemap, and provide the basic information about your web pages, then click on "Next" (also you can click on "Crawl" to skip next steps).
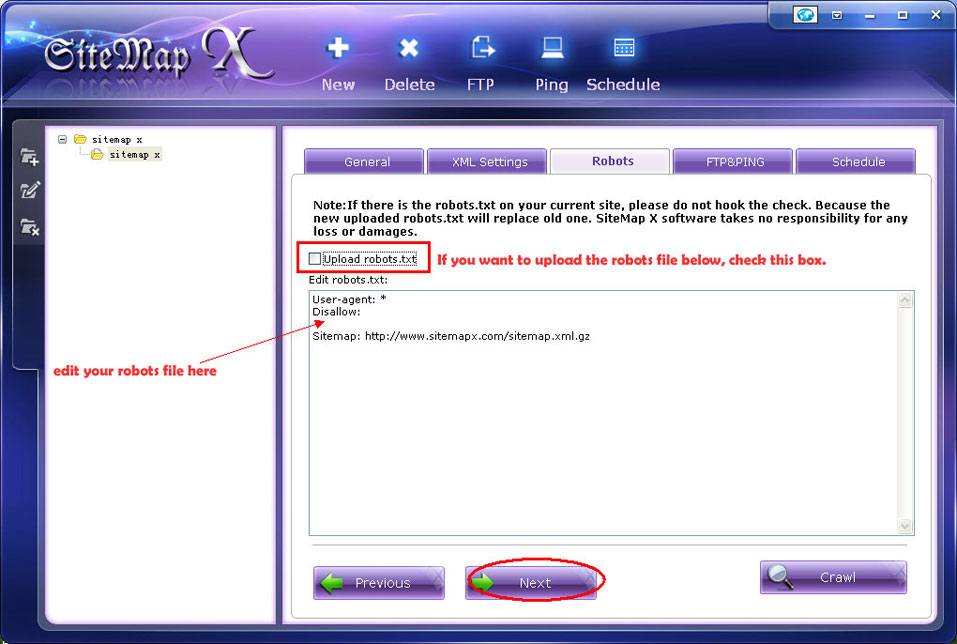
4. Under "Robots" tab, you can edit a robots file, and decide whether upload it to your server or not, then click on "Next" (or "Crawl").
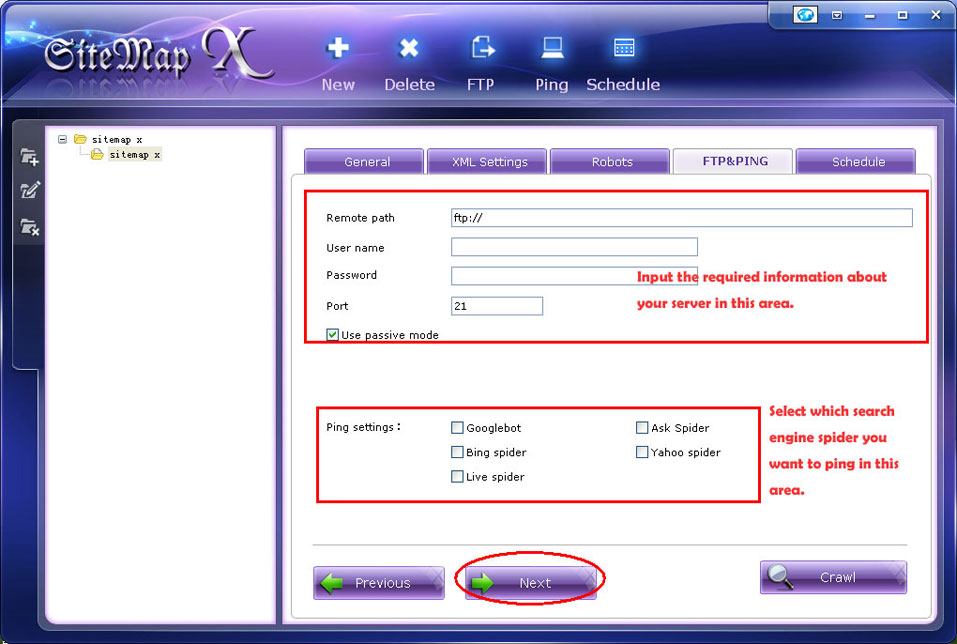
5. Under "FTP&PING" tab, input the required information about your server and select the search engines spiders you want to ping, so that you can automatically upload the generated sitemap to your server and instantly ping search engines after the generation.
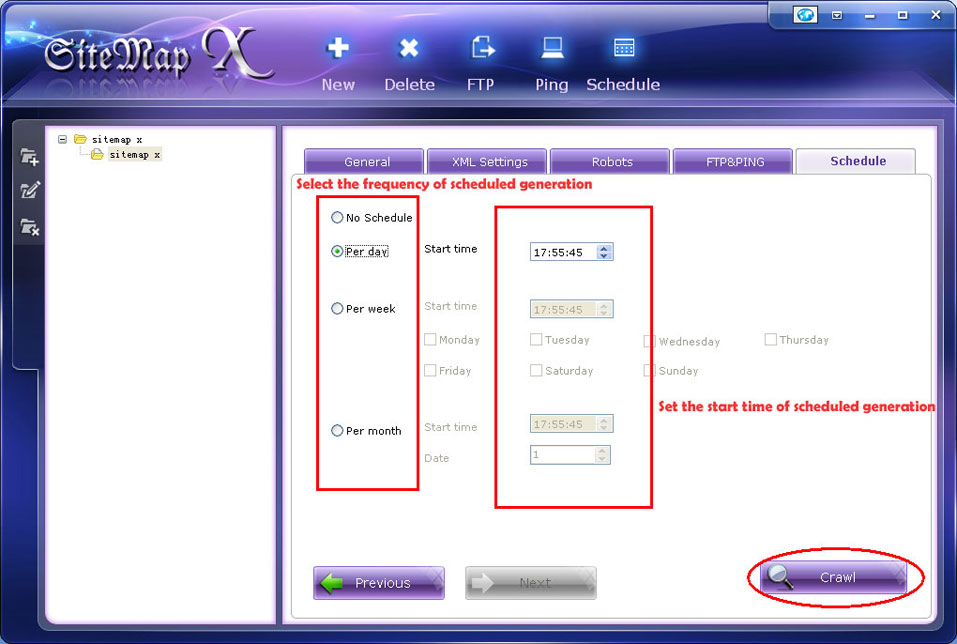
6. Under "Schedule" tab, you can make SiteMap X automatically generate and upload sitemap at a fixed time. After the scheduling work done, click on "Crawl".
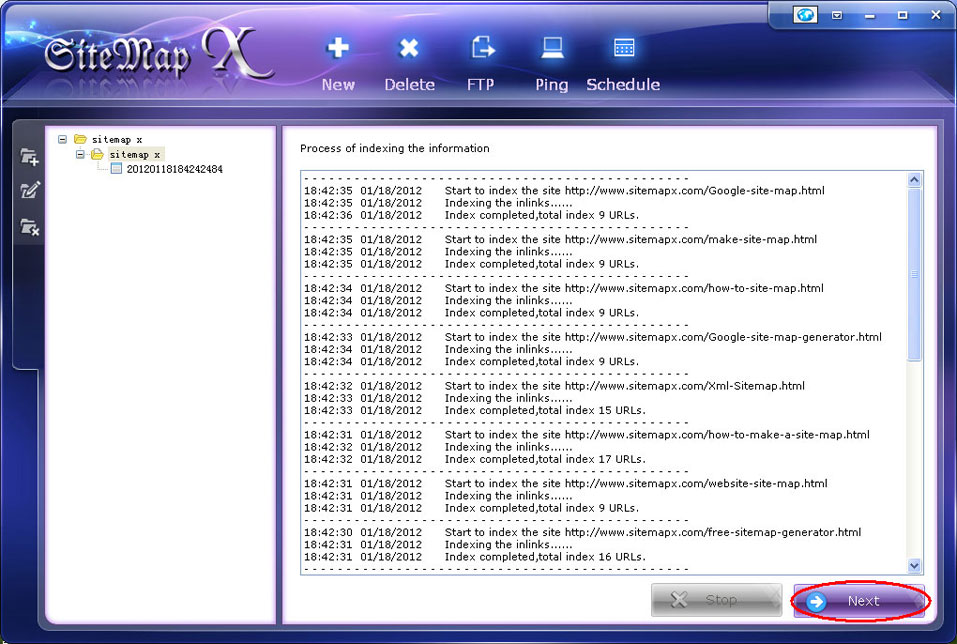
7. SiteMap X will start crawling immediately, and you can see the crawling process as below (after the crawling completed, click on "Next"):
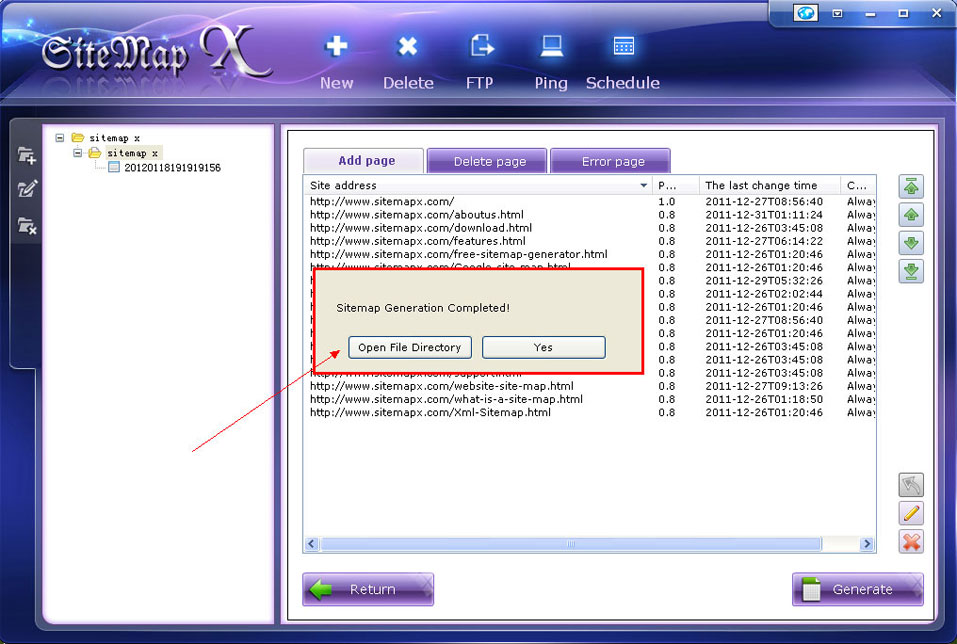
8. You can modify (add, edit, or delete) the crawled URLs and see the error pages of your site in the next interface. After the modification, click on "Generate."

9. In the popped-up window, you can choose whether to view the generated sitemaps or not.
B. Delete or edit existed project or group
1. Delete: select a project or a group and then click on "Delete" or the delete button on the left of the project list.

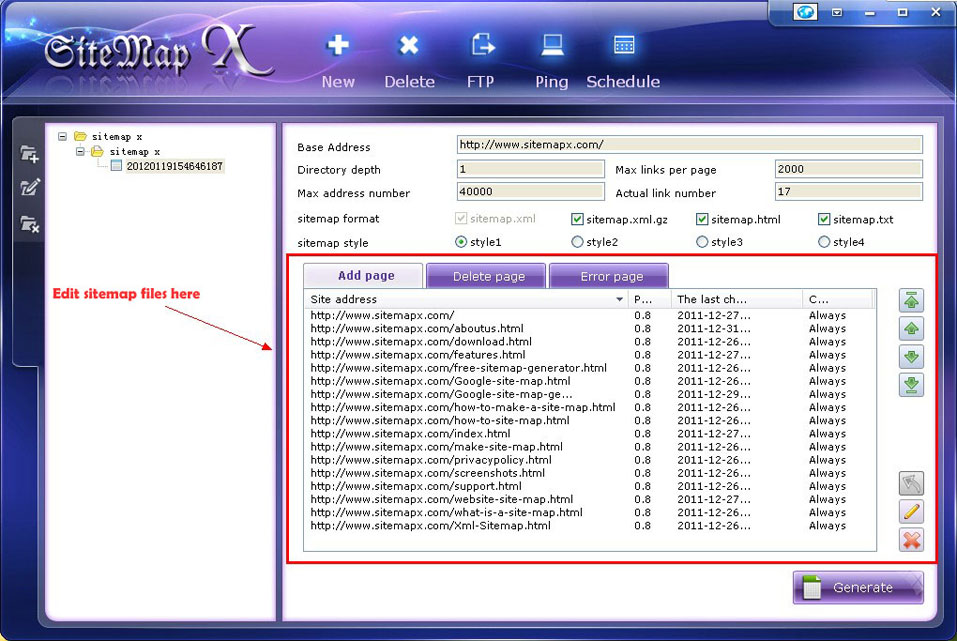
2. Edit: select a project or a group and click on the edit button on the left-top of the project list, then you can start the generation process all over again. But if you just want to edit the sitemap files, you can directly modify them on the right side of the interface.
C. Use FTP Manager X to transfer files between your computer and site server
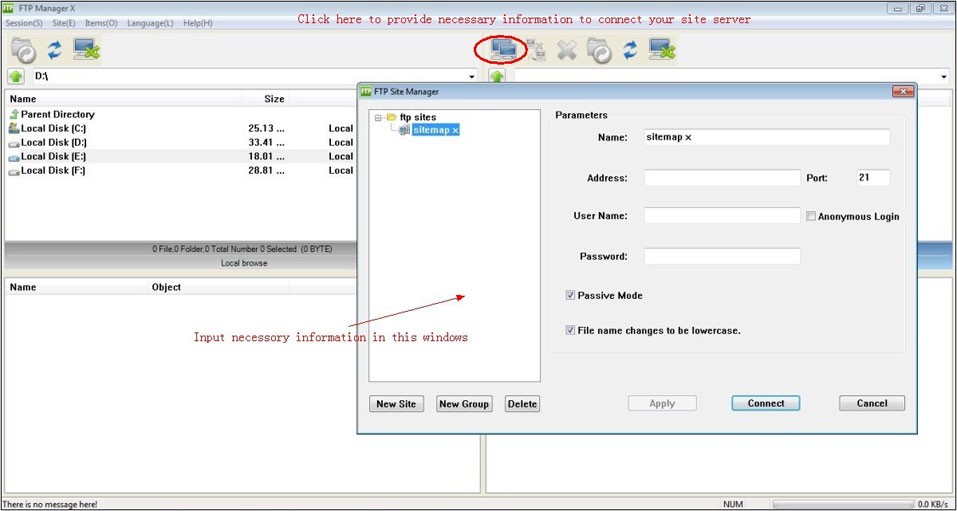
1. In the main interface, click on "FTP".
2. You can now see the main interface of the built-in FTP Manager X (after you input all the necessary information to connect your site server, click on "Connect", then you can use this FTP manager to exchange files freely):
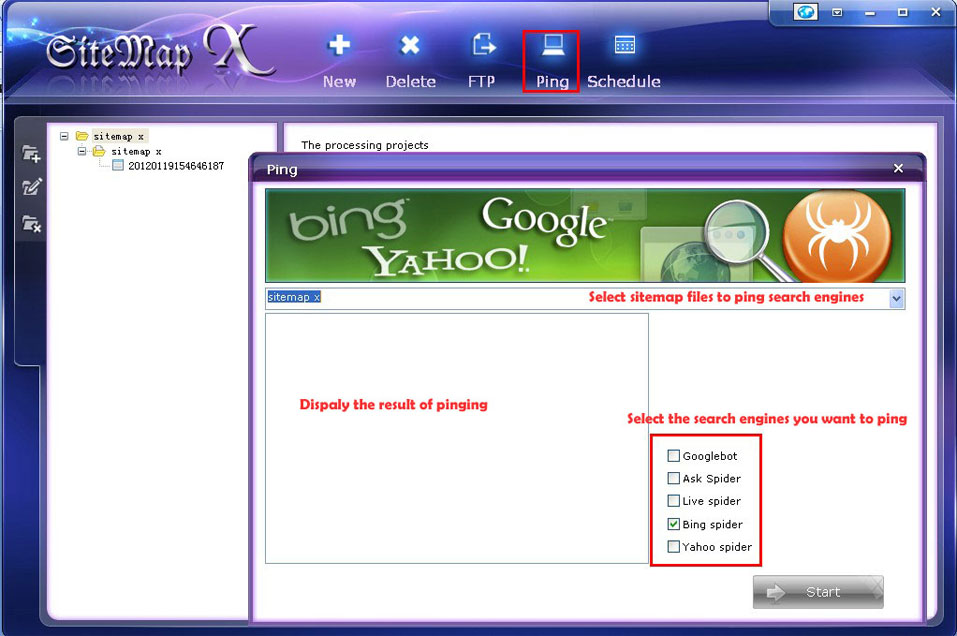
In the main interface click on "Ping", and in the popped-up window, select the sitemap files and search engines, and then click on "Start". You can see the results on the left hand column.
1. Schedule manager: in the main interface click on "Schedule", and then in the popped-up window, you can manage all the scheduled or unscheduled projects.
2. To set a new schedule: click on "Schedule" in the main interface, and then select a group you want to set a schedule for. Choose the frequency of generation and uploading, set a start time, and click on "Save".


Windows 10/8/7/Vista/XP/2008
32 bit and 64 bit System

I have never expected that a free sitemap tool would actually do such good work for me! It is even better than most of paid sitemap tools!
--Sharman, Delaware
I have spent lots of time in finding a trustworthy sitemap tool to build my website a standard and accurate sitemap. But what I found were either expensive or with limited functions. SiteMap X really came as a big surprise for me—it is totally free and fully functioning!
--Kirsten, Kentucky
This amazing tool helps me a lot in building a standard sitemap and quickening the indexing of my site. This free tool has outdone so many paid ones!
--Gary, Texas
It really saves me a lot of time, money and energy to have all my web pages indexed by Google. With the sitemap it built for me, my site's rankings also keep on increasing. This little tool helps me get rid of the trouble that has pestered me for a long time! Good work, guys!
--Bramwell, Virginia